
Desserts
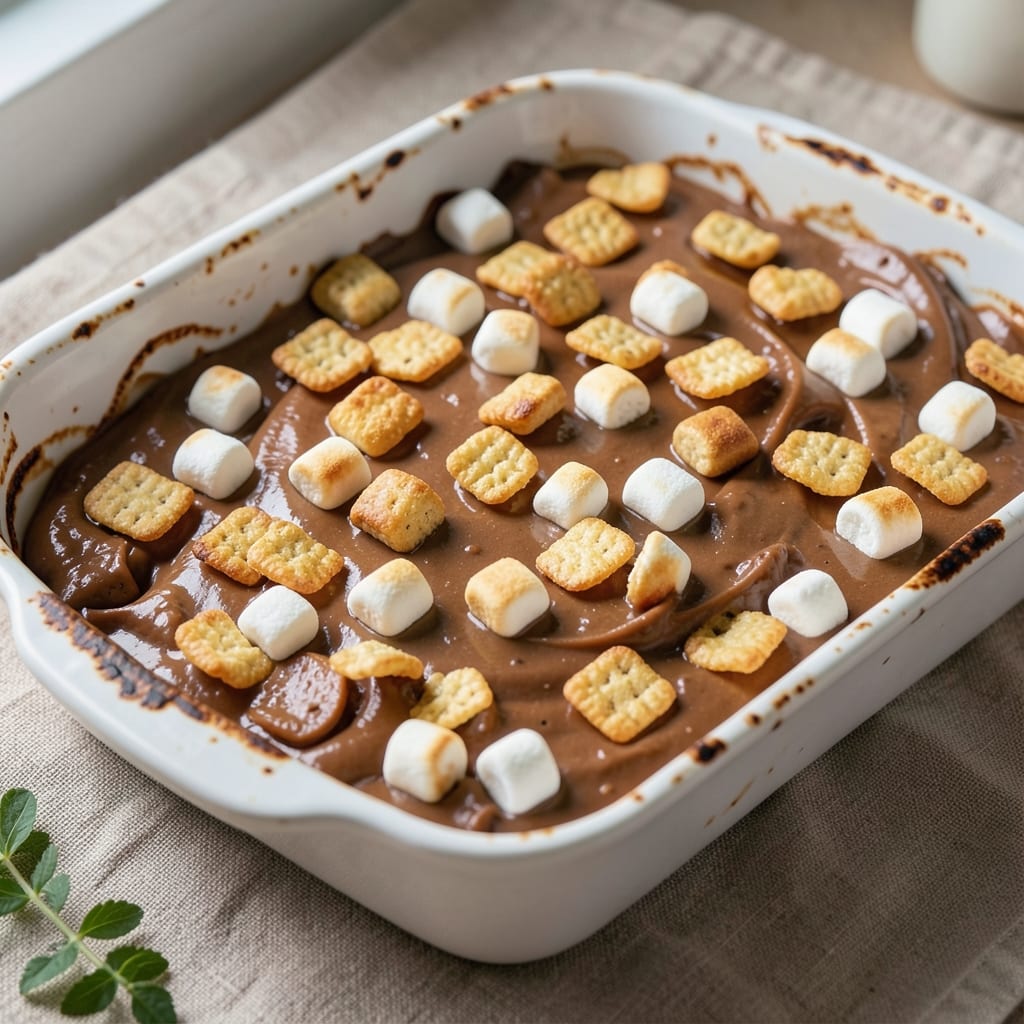
This no-bake 3-ingredient peanut butter Rice Krispie treats recipe delivers fudgy magic with zero effort—just melt, mix, and set. 🔥 The secret lies in balancing creamy peanut butter with crispy Rice Krispies, creating a texture that's both satisfying and surprisingly sophisticated. I developed this version after burning through three batches of overly sweet, crumbly treats, and this is the foolproof method that finally worked.
The beauty of this recipe is its simplicity: three ingredients, no baking, and 10 minutes of active time. You'll need peanut butter (creamy for classic texture, natural for fewer additives), marshmallows (just enough to bind without overwhelming), and Rice Krispies (the star that keeps everything crispy). The process is idiot-proof—melt the peanut butter and marshmallows together, stir in the cereal, and press into a pan to set.
What you'll end up with is a rich, peanut-buttery treat with crispy edges and a fudgy center—no one will believe it's made with just three ingredients. The peanut flavor shines through without being overpowering, and the marshmallow adds just enough sweetness to balance. These treats stay fresh for days in the pantry, making them perfect for parties, gifts, or satisfying a sudden craving.
For extra flair, press them into a greased loaf pan for easy slicing or shape them into bars. If you're watching sugar or calories, swap marshmallows for a vegan alternative and use natural peanut butter. Let's make these treats—they're easier than you think!
Ingredients for 3 ingredient peanut butter rice krispie treats
Three ingredients. Zero baking. Fudgy, crispy perfection in minutes.
| Ingredient | Amount | Notes |
|---|---|---|
| Creamy Peanut Butter 🥜 | 1 cup | Natural or regular, room temperature |
| Mini Marshmallows 🍬 | 3 cups | Unmelted, standard size |
| Rice Krispies Cereal 🍞 | 6 cups | Original flavor, uncrushed |
The peanut butter is non-negotiable here—creamy for that classic, smooth texture or natural if you prefer fewer additives. Jif or Skippy are reliable brands, but any good-quality store-brand works. Room temperature butter melts faster and mixes more evenly, so take it out of the fridge 10 minutes before starting. Mini marshmallows are essential for that perfect balance of sweetness and binding power—no giant marshmallows here, or you'll end up with a sticky mess. Trader Joe's and Target usually carry them in bulk, which saves money for repeat batches.
Short on marshmallows? Mini marshmallow fluff (like from a can) works in a pinch—just use half the amount since it's less dense. No peanut butter? Almond butter or sunflower seed butter are great substitutes, though the flavor will shift slightly. For a lower-sugar option, swap marshmallows for vegan marshmallow fluff or date syrup (reduce by one-third to avoid excess moisture). The Rice Krispies must be original flavor—no buttery or honey varieties, or the texture will suffer. If you're in a bind, corn flakes can stand in, but they lack that signature crunch.
These treats stay fresh for up to 5 days in an airtight container at room temperature—no refrigeration needed. For longer storage, wrap individual bars in plastic wrap and freeze for up to 3 months. The secret to crispy edges? Press the mixture firmly into your pan and let it set completely before cutting. Grease the pan well (or use parchment paper) to prevent sticking. Once set, they slice beautifully—perfect for parties or gifting.
Why You'll Love This Recipe
- No-Mess Magic: Honestly, three ingredients—just melt the peanut butter, fold in marshmallows and cereal, then press. No mixer, no fancy tools, and zero cleanup beyond one bowl and a spatula.
- Chewy Crunch Perfection: That first bite? Warm, gooey marshmallow melting into crispy Rice Krispies with peanut butter’s rich, nutty punch—it’s like a hug in treat form, and it doesn’t even taste like a shortcut.
- Party in a Box: Pack them in jars for potlucks, slice into squares for lunchboxes, or break into chunks for after-school snacks. They’re sturdy enough to travel but still feel special—no one will guess they’re this easy to make.
- Budget Snack Hero: A single jar of peanut butter and a bag of marshmallows stretch for dozens of treats. I’ve fed a crowd for under $5, and the leftovers? They vanish faster than I can say “second helping.”
Step-by-step instructions for 3-Ingredient peanut butter Rice Krispie treats
Here's the foolproof method for creating fudgy, no-bake treats with just three ingredients.
🍳 Step 1: Melt the Marshmallows and Peanut Butter
In a large, microwave-safe bowl, combine the 3 cups Mini Marshmallows and 1 cup Creamy Peanut Butter. Microwave on high for 2-3 minutes, stirring every 30 seconds until the marshmallows are completely melted and the mixture is smooth. You'll notice the peanut butter will start to thin out as it incorporates with the melted marshmallows.
Here's the thing—don't overmix once melted. You want just enough to combine everything evenly, but not so much that you create air bubbles. The mixture should look like a thick, glossy peanut butter sauce. If it looks too thick, microwave for 10-second intervals until smooth. This ensures your treats will have that signature fudgy texture without being too sticky.
👨🍳 Step 2: Fold in the Rice Krispies
Remove the melted mixture from the microwave and let it cool for 1 minute—it's hot enough to burn your fingers, but you don't want it completely cool yet. Add the 6 cups Rice Krispies Cereal all at once and fold gently with a rubber spatula. You'll want to work quickly but carefully to avoid crushing the cereal pieces.
This is where the magic happens. The warm peanut butter mixture will cling to each cereal piece, creating those perfect bite-sized clusters. If the mixture starts to look dry or the cereal isn't coating evenly, microwave for 10 more seconds to loosen it up. You want every cereal piece to be fully coated in that peanut butter marshmallow goodness.
🥘 Step 3: Press into Pan for Perfect Shape
Lightly grease a 9x13-inch baking pan with nonstick spray or butter. Using a rubber spatula, press the Rice Krispie mixture firmly and evenly into the pan. I like to use the back of a spoon to pack it down tightly—this creates those clean edges and prevents crumbling when you cut them later. Press until the mixture is about ½-inch thick throughout the pan.
Here's a pro tip: don't worry if it looks uneven at first. The treats will firm up as they cool, and any imperfections will be hidden once they're sliced. For extra insurance, run the spatula along the edges to create a clean border. Let the treats cool completely in the pan for at least 1 hour—this is crucial for them to set properly and hold their shape when cutting.
🔪 Step 4: Cut and Serve
Once completely cooled, remove the treats from the pan and cut into 1-inch squares or rectangles using a sharp knife. For cleaner cuts, dip the knife in hot water between slices to prevent sticking. The treats should hold their shape well if you pressed them firmly in the pan.
These treats are best served at room temperature, but they'll keep in an airtight container at room temperature for up to 5 days. If you're making them ahead, let them cool completely before storing to prevent condensation from making them soggy. The perfect balance of creamy peanut butter and crispy Rice Krispies makes these treats irresistibly addictive—just one bite and you'll want to make another batch!
Pro Tips For Making 3 Ingredient Peanut Butter Rice Krispie Treats
- Use Medium Heat: I learned this the hard way—high heat turns your marshmallows into lava and your peanut butter into a greasy mess. Keep the pan on medium and stir constantly so the marshmallows melt smoothly without burning. (Yes, even if you're impatient like me.) ---
- Toast the Cereal First: Dump the Rice Krispies into a dry pan and toast them for 2-3 minutes before mixing with the peanut butter. This adds a subtle crunch that disappears when you add the marshmallows, making the final texture way more satisfying. ---
- Skip the Overmixing: Once the marshmallows are fully melted, stop stirring immediately. Overworking the mixture makes the treats dense and sticky—just fold until combined, then press into the pan. The uneven look? That’s normal, and it actually means they’re done right. ---
- Chill Before Cutting: Let the pan cool for at least 10 minutes before slicing, or the peanut butter will ooze out everywhere. If you’re in a hurry, pop the pan in the fridge for 5 minutes—your future self will thank you for not dealing with a sticky disaster.
Flavor customization for 3 ingredient peanut butter rice krispie treats
Sweet & Salty Twist
Add ½ cup chopped dark chocolate chips (70% cocoa) or ¼ cup chopped salted peanuts to the Rice Krispie mixture before pressing into the pan. The chocolate adds a rich, bittersweet contrast, while peanuts bring extra crunch and a savory-sweet balance. I love using Ghirardelli dark chocolate squares for that premium melt. 💛
Chocolate Peanut Butter
Swap 1 cup of the marshmallows for 1 cup semi-sweet chocolate chips (about 1.5 oz) to create a chocolate peanut butter base. Microwave the marshmallows and chocolate together until fully melted, then proceed as directed. The result is a deeper, richer flavor with a marbled effect when cut. Enjoy Life chocolate chips work perfectly for a dairy-free option.
Cinnamon Roll Flavor
Stir in 1 teaspoon ground cinnamon and a pinch of salt into the melted peanut butter mixture before adding the Rice Krispies. For extra decadence, sprinkle ½ cup mini marshmallows on top before pressing into the pan. This creates a cinnamon roll-inspired treat with a crispy exterior and gooey center. A drizzle of peanut butter glaze (mix ¼ cup powdered sugar with 1 tbsp peanut butter and 1 tsp milk) after cutting takes it to the next level.
Tropical Fruit Infusion
Add ¼ cup unsweetened shredded coconut and 2 tablespoons pineapple jam (or mango jam) to the melted peanut butter mixture. The jam adds a fruity tang that pairs surprisingly well with peanut butter. For extra flair, top with toasted coconut flakes before pressing into the pan. This variation is perfect for summer gatherings and brings a refreshing twist to the classic recipe.
Cookie Dough Style
Mix in ¼ cup mini chocolate chips and 2 tablespoons crushed graham crackers to the Rice Krispie mixture for a cookie dough-inspired treat. The graham crackers add a subtle sweetness and texture that mimics cookie dough. For a vegan option, use vegan chocolate chips** and ensure your peanut butter is dairy-free. This variation is especially popular with kids and cookie dough lovers. ✨
Nutrition facts
Frequently asked questions
Can I use regular marshmallows instead of mini marshmallows?
No, regular marshmallows won't work—they're too large and won't melt evenly, creating a sticky mess. Mini marshmallows melt smoothly and distribute perfectly throughout the peanut butter mixture. If you only have regular marshmallows, chop them into small pieces first, but mini marshmallows are ideal for this recipe.
Why are my treats crumbling when I cut them?
Crumbling usually means the mixture wasn't pressed firmly enough or didn't cool completely. Press the mixture tightly into the pan using a rubber spatula or spoon, and let it set for at least 1 hour before cutting. If they're still crumbly, chill the pan in the fridge for 15 minutes to help them firm up.
Can I make these treats without a microwave?
Yes! Use a double boiler or stovetop method: melt the marshmallows and peanut butter in a heatproof bowl over simmering water, stirring constantly until smooth. Keep the heat on low** to avoid burning. This method takes about 5-7 minutes and works just as well.
How do I store leftovers to keep them crispy?
Store treats in an airtight container at room temperature for up to 5 days. To maintain crispiness, place a slice of bread in the container—it absorbs moisture and keeps the treats fresh. For longer storage, freeze in individual portions and thaw at room temperature for 10 minutes before serving.
What if my peanut butter is too thick or too thin?
If it's too thick, microwave for 10-second intervals until smooth. If too thin (like from natural peanut butter), add 1 tablespoon powdered sugar to help bind the mixture. Natural peanut butter often needs extra help—just stir it in while the mixture is still warm. The goal is a thick, glossy consistency that coats the cereal perfectly.